ConGRADulations

Yesterday, I got a last minute phone call to do a surprise graduation photoshoot. This was really out of nowhere as I was expected to do the shoot within a few hours of the inquiry. This isn't exactly ideal but I felt that it was better to do the shoot on the day of the graduation, rather than another day as it would be a hassle for the graduate to get dressed, have makeup redid and everything that associates with getting ready for graduation day.

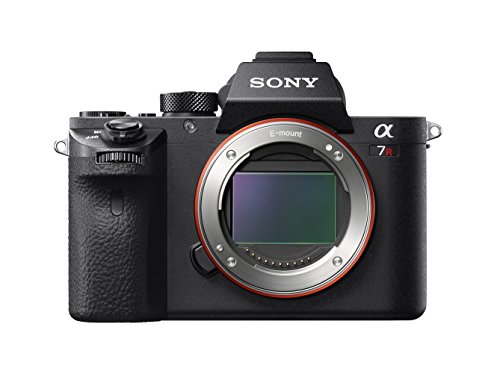
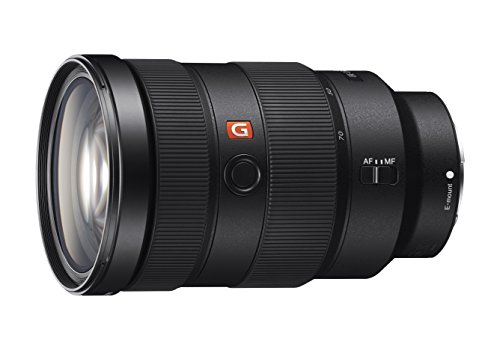
For this shoot, I decided to rely on my Sony A7Rii and the Sony 24-70mm f/2.8 GM. The shoot was to be taken at the University of Washington, Tacoma campus. Interestingly enough, I've lived around the area for a good portion of my life and pass by the campus all the time but have never actually stepped foot on it. 

UWT is an interesting campus. It is very much so a part of the city and not just because it is located in arguably the busiest part of downtown Tacoma, but because some of the classrooms/campus is literally a floor above various stores and businesses. If I'm not mistaken, the UWT school gym is actually the Tacoma YMCA.

Needless to say, certain aspects of the campus is very cramped and there isn't much room to move around for photos. Considering that the campus is small, there weren't that many distinctive features that I could've used as a backdrop or to add to the photos. With all of this in mind, I felt that a 24-70mm lens would be best because this would allow me to go from wide to medium telephoto.

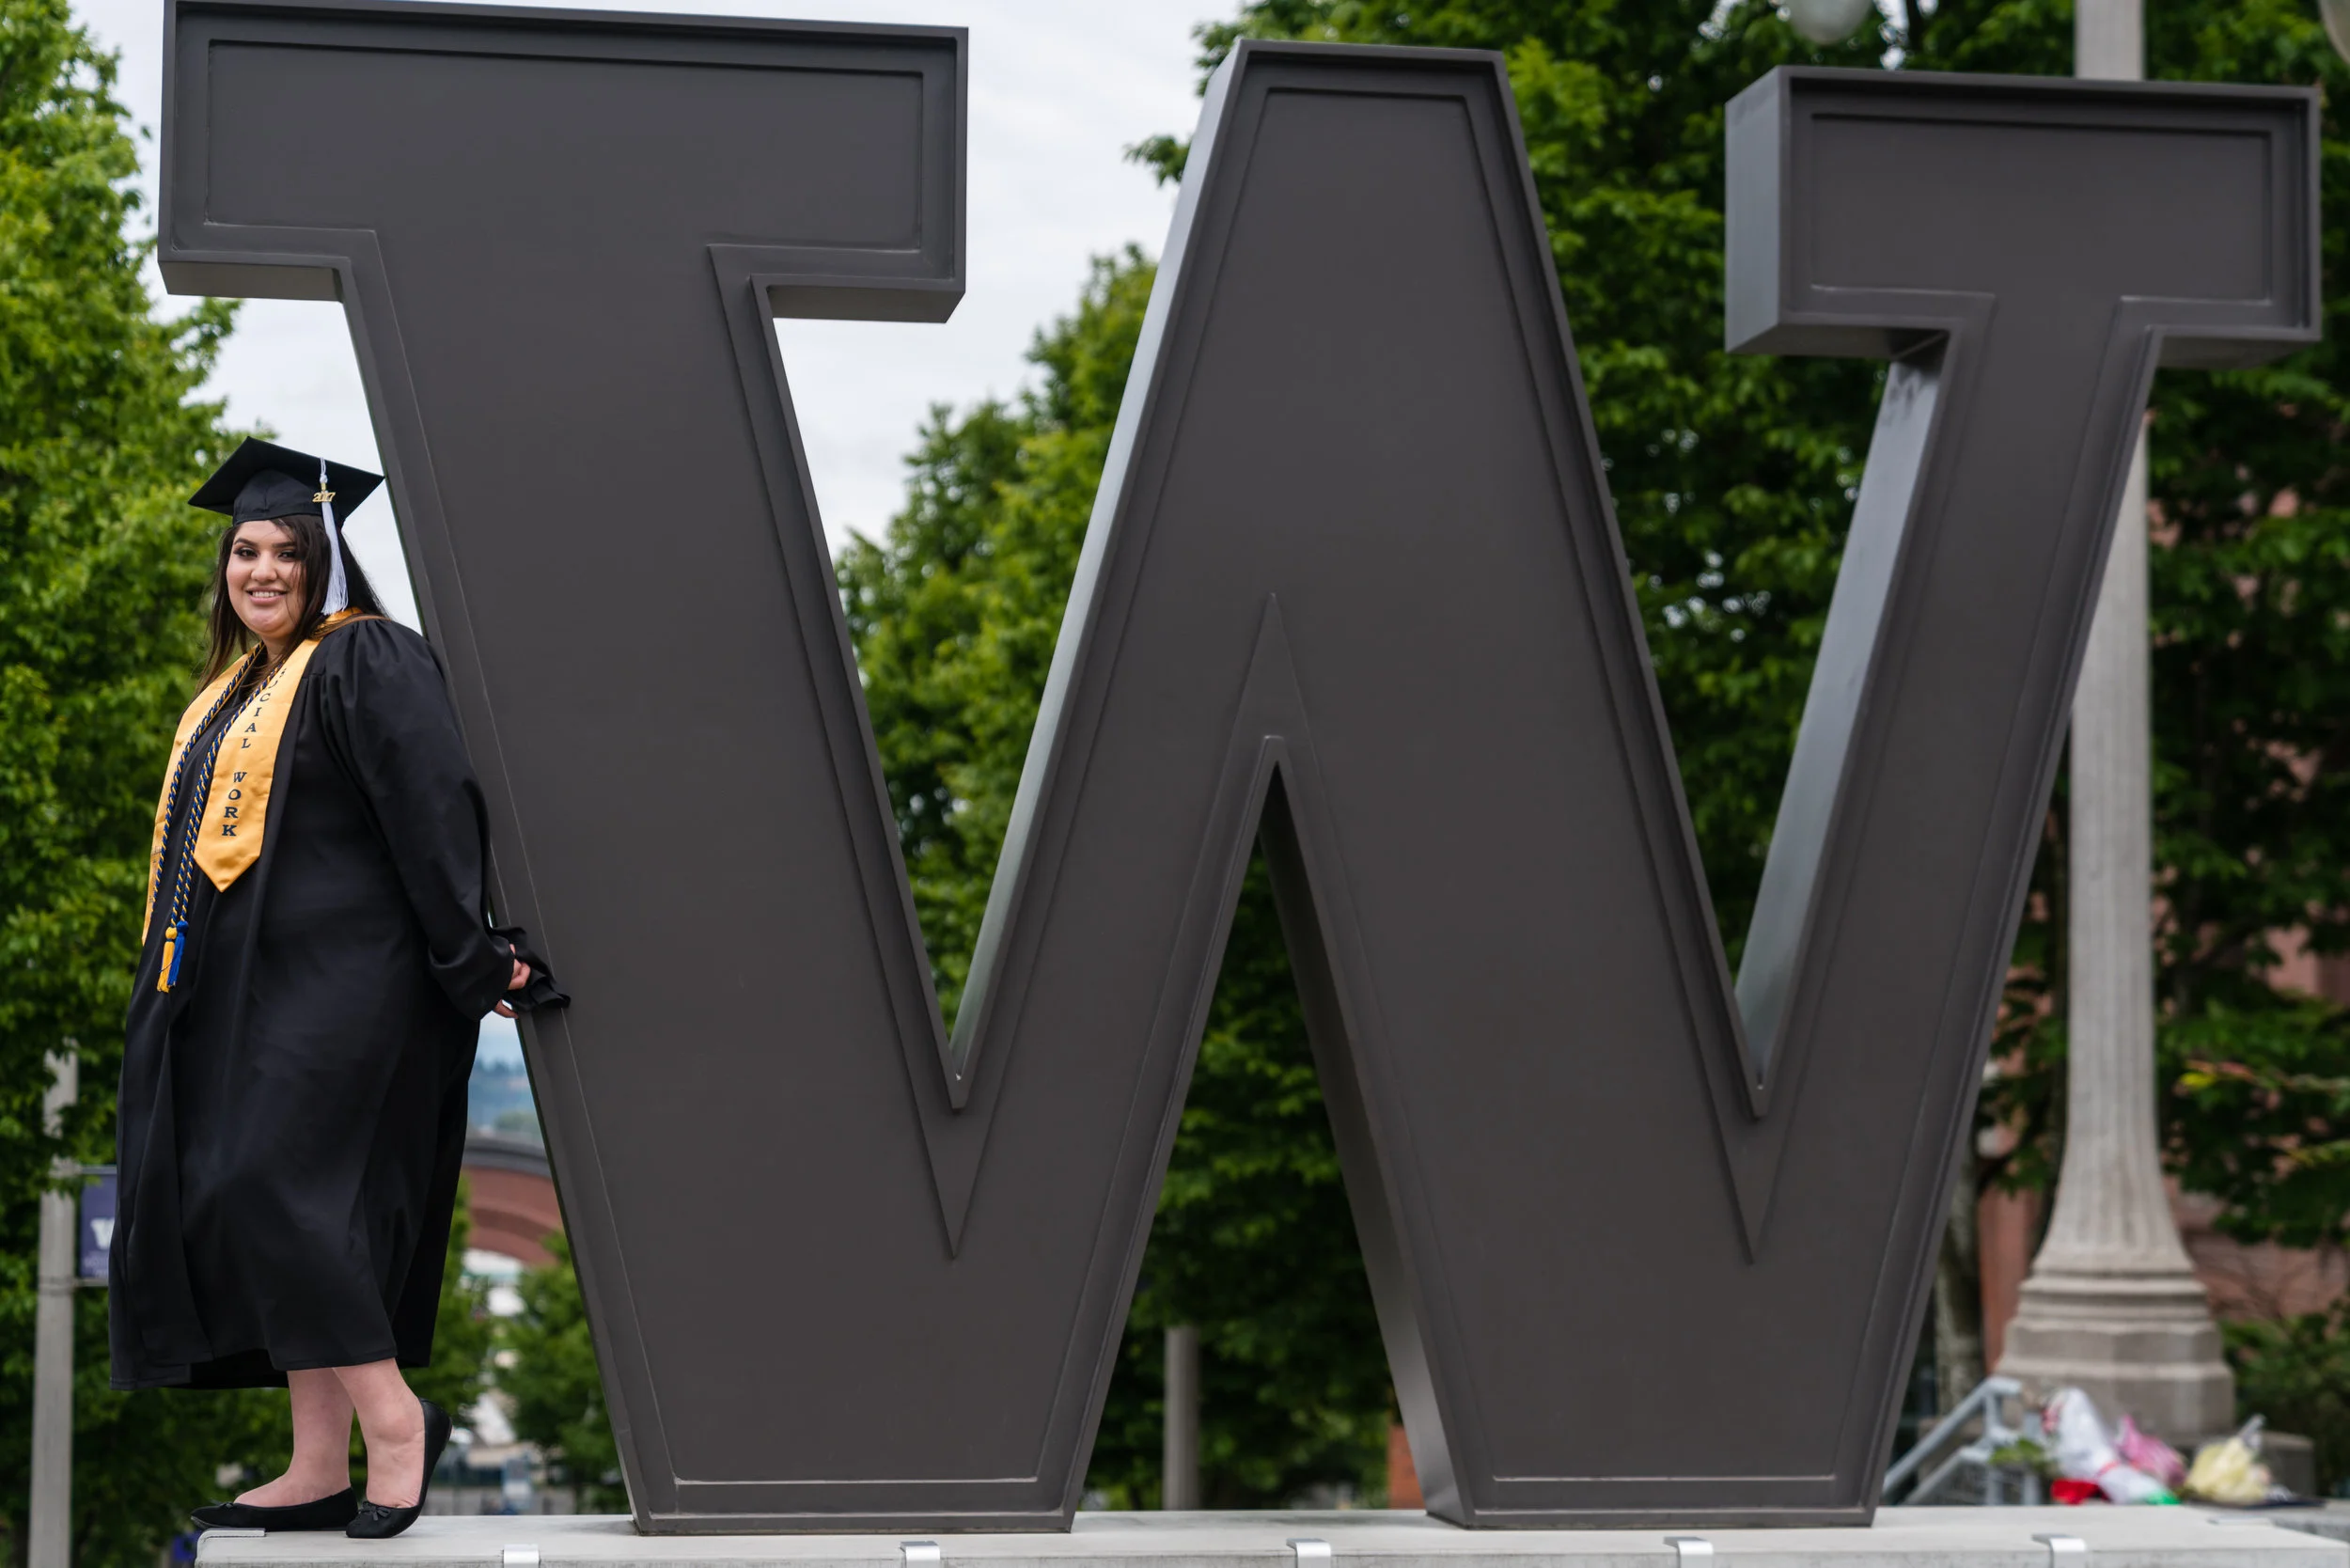
If you've ever seen a UW alum's graduation photo, you would know that it's kind of a tradition to take a photo with the giant W on campus. To keep up with tradition, we decided to make the W the first location for the shoot.

On this campus, the W just happens to be right next to an active city street, literally a few feet away. The 24-70mm was definitely the right choice because I wanted to make sure that I got a picture with the entire W in frame.

Next, was to get some detail shots. I personally feel that detail shots have a place in any photoshoot. There is always something that you can get close up shots of and sometimes this can be very rewarding.

We of course can't forget about photo's of the graduate! As you can see, the photos consist of headshots and group portraits. The graduate's family is most likely going to be there so why not include them in the shoot? This kills some time and gets everyone involved. I feel that this helps to justify your rate for the shoot because they are getting more out of it.

At the end of the day, it is all about making your subject look good! The client enjoyed the photos and that's all that matters.


Want to support my work?
Consider visiting the shop and buying "Absolutely Nothing"
https://www.TheUpperLeftUSA.com/shop/absolutely-nothing

or

Become a Patron!
https://www.patreon.com/HaiHoangTran

Sometimes you have to alter reality to paint a prettier picture.

Photography is a lot of hurrying up and waiting. You get ready, get to the location early, and wait. There are a lot of variables that goes into a "good" picture. 

Looking at the picture above, you might think that it's a fairly simple picture. Just raise the camera, hit the shutter, and call it a day. This picture actually took WEEKS to make.

I've been attracted to this building for some time now. I liked the symmetry of the building and the flagpole in front of it. I've been doing a lot of walking just for the hell of it and this has been on my route for a few weeks.

The first approach was the obvious one, just go to the location and take the picture.  There are a lot of problems with this approach. First, I live in Washington so weather is always a thought. The weather has been fairly good for the last few weeks so all I really needed to wait for was a day with nice beautiful clouds and a good enough breeze to blow the flag. These two things were critical in my opinion.

The next aspect was to get an interesting foreground. I was looking for either interesting people or a nice car. The problem here is that this is Lakewood, so there aren't too many exotic cars around. This is also not a very busy street so it took some time between seeing people walk across the scene. All of this meant that there was a lot of waiting around. 

As you can see, the final picture was actually composed up of three seperate pictures. Each of the three photos was actually a part of a series that consisted of 10+ photos. In the original concept, I only planned on having one foreground subject but with a little bit of foresight, I was able to come up with the final image. Once I took the photo of the man looking back, I knew that I needed something else for the man to look at. Once I had the foreground, all I needed was the perfect waving flag. 

When I had all the elements, it was just a matter of putting the composition together. This isn't a photoshop tutorial so let's just say that there was a lot of layer masking to get all the elements in place. 

In the end, we have a picture that, although looks simple, tells more of a story as a whole than any of its one part.

This is not a technique that should be abused unless you want to specialize in this type of photography. You don't want to rely on this technique to the point that it becomes a crutch because "you can always use photoshop". It's always better to get it in camera with one shot because it can save you a lot of time and effort, but when that is not really possible, composite the image.

This is an extremely useful skill to know so I would recommend trying it for yourself! Go out, take pictures, and have fun.


Want to support my work?
Consider visiting the shop and buying "Absolutely Nothing"
https://www.TheUpperLeftUSA.com/shop/absolutely-nothing

or

Become a Patron!
https://www.patreon.com/HaiHoangTran

Sony Sonnar T* FE 55mm f/1.8 ZA Lens

The Sony 55mm f/1.8 lens has to undoubtedly be the most underrated Sony E-mount lens in my collection. If I remember correctly, this was actually the first lens that I purchased when I got into the Sony system. I bought it, very shortly after bought the Sony 28mm f/2, and then the 55mm f/1.8 was put into storage for the last two years. 

I didn't put the 55mm f/1.8 away because it was lacking in any sense. This is quite possibly the sharpest Sony lens that I own. It definitely is if you consider DxOMark standards. According to DxOMark, the Sony 55mm f/1.8 is currently the third sharpest lens in the Sony lens lineup (https://www.dxomark.com/lenses/brand-sony/mounted_on-Sony_A7R_II-1035/launched-between-1987-and-2016/mount_type-Sony_FE/focal-from-1-to-1500/aperture_max-from-0.95-to-45/launch_price-from-0-to-13000-usd/sensor_brand-Sony#hideAdvancedOptions=false&viewMode=list&yDataType=rankDxo).

I orginally put the 55mm f/1.8 into storage because I was at a point in my photography career where I needed a wider prime, hence purchasing the 28mm f/2. 55mm was simply too narrow for my everyday work. I do a lot of photography in crowded locations and 55mm would mean getting a lot of tight headshots and that was just not what I was looking for. 

When I shoot film, I only use 50mm lenses. This isn't because I prefer the 50mm focal length, but simply because the lenses are cheap and it's the only focal length that I own for the Nikon F3. Because I was, in a sense, forced to use only 50mm lenses, I've gotten quite accustomed to them. Framing is predictable and results are repeatable. This made me want to try the Sony 55mm f/1.8 again, just to see if I enjoy it as much as with film.

To test the lens out, I decided to head to The Needle Lounge in Lakewood, Washington to get some tattoo photography. This has really come to be my standard for testing camera gear. To me, this setting provides me with more real world conditions than shooting test charts and still life. 

The shop is adequately lit but lighting is still difficult and not perfect. Usually when the artists tattoos, they have a light overhead to help light where they will actually tattoo. Because the light is so close to the tattoo and artist, it is extremely contrasty and sharp.  

One of the reasons to buy the 55mm f/1.8 is of the course the f/1.8 aspect of the lens. A large aperture to get that narrow depth of field. In this type of setting I wouldn't really shoot wide open because I want a bit more depth of field to get various aspects of the scene in focus, but did so just to change things up a bit. 

Looking at the pictures below, you can get a sense of how narrow the depth of field is at f/1.8. Focus is fading from one finger to the next. Where the focus is on the machine tip, the center of the Aztec calendar tattoo is already starting to be blurred because it's on the curve of the client's deltoid. 

One of my favorite things about using 55mm in general is that it is very close to the magnification of my eyes. This means that when I raise the camera to my eye, the image replication size is almost 1:1. This makes framing even easier than with a 50mm lens. 55mm is still a few mm short for my eyes but I think this is as close as I'm ever going to get. 

I also really enjoy the contrast and colors on this lens. Reviewers like to talk about the Zeiss "3D pop" and if there is such a thing, this lens has it. To me, the picture below is the perfect example of this pop. Just look at the client's face and the separation from everything else. It's as if there is that extra dimension that really makes the image pop. 

Overall, this is a pretty amazing lens in use. If you're looking for a standard focal length prime lens, I would highly recommend you check this one out. It is very sharp, capable, and well suited for really anything. It is currently mounted on my A7Rii and I feel like it's going to be on there for awhile as my main everyday walk around lens. 


If you're interested in this lens, please consider purchasing it by using the provided links.

Amazon - http://amzn.to/2s7mdTp


Want to support my work?
Consider visiting the shop and buying "Absolutely Nothing"
https://www.TheUpperLeftUSA.com/shop/absolutely-nothing

or

Become a Patron!
https://www.patreon.com/HaiHoangTran

Growing up so fast...

Today is one of those days where I realize that I'm not getting any younger. Last night I had the chance to visit my childhood friend in the hospital a few hours after his son was born. I, of course, brought my camera because I knew that I could capture for the parents a moment that will forever change their lives.

This was actually my first time really seeing a newborn baby let alone take pictures of one. Needless to say, lighting was poor and conditions were not exactly ideal but when life gives us lemons, we take pictures of it. You just have to make do and do the best you can. 

I'm noticing that my photography style is changing over the last few months. I'm doing more and more detailed/close up shots. Not to the point of macro, but definitely closer than what I'm used to. This isn't a bad thing, just different. 

Interestingly enough, since posting some of the pictures on Instagram (Instagram.com/TheUpperLeftUSA), other people are interested in me taking their birthing photos (if that's a think). It just goes to show, do what you do, do what you enjoy and the jobs/money will come. 

Below are a few shots from the night. Enjoy them and enjoy this beautiful newborn baby boy. 


Want to support my work?
Consider visiting the shop and buying "Absolutely Nothing"
https://www.TheUpperLeftUSA.com/shop/absolutely-nothing

or

Become a Patron!
https://www.patreon.com/HaiHoangTran

$4550 Film Camera - Leica M7

I once saw on an online post something along the lines of “you don’t buy a Leica with your head, you buy a Leica with your heart”. I think that this is for most people very true because let’s admit it, for the price that you pay for just a new Leica body, you can get a professional body and lens from another manufacturer that is technically more capable in terms of specs. 

Buying a new Leica FILM camera is an even more insane notion today for some very obvious reasons, but there are still three Leica film cameras that are in production today. These cameras are the Leica M-A, MP and of course the M7. Each of the three options currently retail for $4550, body only. Again, completely insane especially considering that they are all film cameras with, relative for the price, little features.

So why would you buy a new film Leica or better yet, why did I buy a new Leica M7? Hopefully, by the end of this blog, both you and I will be able to justify the purchase, just a bit.

Considering that there are two other options from Leica, why did I buy the M7? To me, the M-A is pretty much a modern take on the M3, fully mechanical, no batteries required. This is great but there is no light meter. The MP is essentially an M6 at the end of the day when it comes to features. Sure it is “mechanical perfection”, but I’d rather get an M6 at half the price (which I did).

So, I’m left with the M7. To me, the M7 is the only camera in the Leica M film line that really stands out. It is the only film M camera that has any form of automatic exposure. For the sake of keeping things simple, let’s just say that the M7 has an aperture priority mode. Is this necessary? Of course not! I rarely ever use anything but the manual mode in any of my cameras because that’s just a habit that I’ve gotten into over the years. Auto exposure modes can be confining but if I’m going to be spending the same amount of money on a camera that can auto expose and one that can’t, I’m going to go with the one that can just to get a little bit more for my money.

With the M7 you also get up to 1/1000th second flash synch speeds when using Leica Metz flashes and an updated viewfinder. The M7 viewfinder displays your shutter speed, film speed, exposure mode, and flash readiness. The viewfinder information brightness is also automatically adjusted to match the ambient light conditions. 

The M7 can now automatically recognize the film speed, through DX film coding, and provides aperture priority autoexposure.

The M7 runs on two (batteries) but when those run out, you can still manually fire at 1/60th and 1/125th of a second.

That being said, because it is more electronically driven, the M7 is theoretically more prone to malfunctions. I’m not worried about this right now, but a few years down the line, this may be a problem. Especially if Leica decides to stop manufacturing the M7 or repairing it. 

Before deciding on the M7, I was actually going between it, the Contax G2 and the Konica Hexar RF. I like the Contax because it is the most advance rangefinder. If I’m not mistaken, it’s the only interchangeable lens rangefinder that has autofocus. I like the Hexar because when all things are considered, it is essentially a cheaper M7 but with better features, even though it was introduced years before the M7.  I personally feel that the Hexar is the closest in comparison to the M7, but unfortunately, it’s not an M7. It’s not a Leica and if you remember, you don’t buy a Leica with your head. 

Both the G2 and Hexar has automatic winding functions and more importantly to me, they have a maximum shutter speed of 1/4000th of a second. That’s two stops more than the M7. This is very appealing because on a bright sunny day, using ISO 100 film, we’re talking about a difference of using f/5.6 and f/2.8. The difference in depth of field could make or break a photo. If you want to use a fast lens on the M7, you’re going to either have to wait until there is less light or use an ND filter. Either way, it’s more complicated than it should be. 

One thing that I’m enjoying quite a bit on this M7 is the cloth shutter. IT IS QUIET. The M7 has possibly the quietest shutter I've ever heard. If you watch the above video, there are some sound clips of the shutter. There is just a quiet little click to indicate the firing of the shutter and I love that. Very inconspicuous. 

This may be trivial but I like that this camera actually has an on/off button, revolutionary right? Wheres on the M6 to turn the camera/metering off, you have to change the shutter to bulb mode. I have admit that I’ve forgotten about this feature before and just leave the M6 on. With the M7, it’s exactly the same on/off mechanism as the F3, except that when the red dot is showing, the camera is actually off, not on. When the camera is off, the electronics gets turned off and the camera mechanically blocks the shutter release to prevent accidental exposures.

It’s interesting to note that when the camera is in manual mode, you can fire the shutter immediately upon turning the camera on. If you’re in aperture priority, you actually have to wait approximately 2 seconds, or until the film speed display in the viewfinder goes out, before you can take a picture. This is a weird setting and can really slow you down sometimes. 

I find the ISO dial on the camera back door to be interesting. It’s a two in one dial. The dial doubles as both the film speed selector and the exposure compensation. If you want the camera to automatically set film speed, as in it reads the DX coding on the film catridge, you set it to DX mode. If you want to set a custom film speed, as in you bulk rolled, the cartridge doesn’t have DX coding, or you want to push or pull the film, just turn the dial to the desired film speed. The setting that you want is the one opposite to the white dot of the exposure compensation dial.

One thing that’s always bothered me about using Leicas is just how you hold them. If you’re shooting in landscape, everything is for the most part fine. The problem is in portrait orientation. Depending on how you hold the camera, the viewfinder is blocked and you can't see anything. I show in the above video how I would normally hold the camera and the problem with using rangefinders. The picture to the right is from the M7 manual and shows how you should hold the camera in portrait orientation. This seems extremely awkward as you wouldn't really be able to adjust anything on the lens if you hold it that way.

At the end of the day, the M7 is an amazing camera, but is it worth the $4550 price tag? Honestly, it’s not. This body will give you the same result as really any other film camera as they all really do the same thing. Sure some cameras may have more features than others, but at the end of the day, they’re just tools. A used $100 camera will do the same thing as this new $4550 camera. If you want a Leica for the lenses, why not just buy the lens and adapt it to a cheaper or more capable camera? The Hexar uses the same M mount.

Logically speaking, we don’t buy Leicas because they are the greatest cameras in the world. We buy Leicas for the heritage, the history, for the sense of owning a Leica and that’s ok. If you’re happy with a Leica and it gets you out shooting, then that’s all that really matters. 

If you want the M7 or any other Leica and you have the funds for it, then buy the Leica. Filing the Leica void with another camera isn’t going to do anything but leave you with regrets. 

If you're interested in this camera, please consider purchasing it by using the provided links.

Leica M7
Amazon -
http://amzn.to/2skSTog


Want to support my work?
Consider visiting the shop and buying "Absolutely Nothing"
https://www.TheUpperLeftUSA.com/shop/absolutely-nothing

or

Become a Patron!
https://www.patreon.com/HaiHoangTran