Rokinon / Samyang 35mm f/2.8 AF for Sony E


My main, every day use lens for the past few years has been the Sony 24-70mm f/2.8 GM. This lens is on my camera body 99% of the time and is my go to for a one body and one lens setup. That being said, it is still relatively large and there are times that I don’t want to carry it around. For a paid job? No problem. I’ll deal with the size and weight all day, if I was making some money. But sometimes when I’m just walking around and want to bring a camera along with no pressure to take any photos, this can be a hassle. So, I’ve been in the market for a smaller and lighter weight lens. That’s why I picked up the Samyang 35mm f/2.8 autofocus lens for the Sony E-mount.

I’ve been using this lens for a few weeks now and want to share with you some of my thoughts as well as some samples from the various occasions that I’ve had the chance to use this lens. I just want to make it clear that this is not a pixel peeping review. I did not shoot test charts or go out and purposely try to find imperfections like chromatic aberration or distortion with this lens. I just shot it how I normally would and if I noticed something, I’ll mention it. Remember, the things that I say are my personal opinions and are based on how I used this lens. Your mileage may vary.

It should be noted that there is both a Rokinon and Samyang version of this lens. These are essentially the same company that produces some of the same lenses. I personally bought the Samyang version because it’s typically cheaper, but if you’re interested in the Rokinon version, just know that it is the same as the lens that I’m reviewing.


Construction

Although retail price for this lens is $399, it regularly sells for around $250. Let’s face it, just based on the price, you shouldn’t really be expecting amazing construction quality or premium build materials. This lens is made out of plastic and there is really no questioning of that. To be honest, the first time that I picked this lens up from the case, I thought to myself that “Man, this feels like crap.” You can tell right away that it’s made out of plastic and it’s not like one of those things that are made out of plastic but the manufacturer finished it in a way that the surface is kind of cold and feels like metal. No, this feels as plastic as plastic can feel. But again, for the price this is kind of expected.

One thing that I do want to mention with this lens is the hood. I actually really like the design of the hood in concept. How well it works? I can’t say considering that it’s so small, but it looks good and is a great cosmetic design. My problem with the hood however, is its fitment. It is very lightly held in place and takes little to no effort for it to come off. Just the slightest bump and it could possibly fall off. I feel that through my normal use of the lens, I constantly have to re-tighten the hood because I see it unscrewing after almost every shot. I’m actually thinking of just adding some tape between the hood and lens just to make the fitment tighter. Hopefully, this will help.

Again, this is a lens that regularly sells for around $250. Don’t expect the world of it. However, if you purchase it with reasonable expectations, I think you’ll be quite satisfied because the cheaper materials do make this lens very light. Sitting at 85.6 grams, this is without a doubt the lightest lens that I’ve ever held in my hands (that actually performs well). It feels like I just have the lens cap on the body and that’s great for what I was looking for, a small, compact and lightweight lens. A complete winner in that sense.


AutoFocus

Considering that this is a third party autofocus lens for Sony E-mount, you’re probably wondering how well the autofocus performs. Again, I didn’t do any scientific tests so what I’m about to say is strictly an opinion. That being said, I’m completely satisfied with AF performance because it gets the job done and that’s about it. For the most part, it just works. 

Samyang 35mm f/2.8 AF Photo Mode AutoFocus

Samyang 35mm f/2.8 AF Video Mode AutoFocus

In testing this lens, I took it to The Needle Lounge, a tattoo shop in Lakewood, WA to take some environmental portraitures of the artists at work. I wanted to specifically mention this shoot because one thing that I noticed during this shoot was this lens’ issue with eye autofocus and the fact that it was nonexistent. I could not get eye AF to work with this lens and my Sony A7RIII. Face detection worked but Eye AF just did not activate no matter how the subject was situated, facing straight towards the camera or slightly turned. Because of this, I spent the majority of the shoot manually focusing on the eyes and that gave me good results. When I got home, I did some quick internet searches and found that this lens could indeed use Eye AF. So, I went back to The Needle Lounge to specifically test for the Eye AF functionality. The second time around, Eye AF detected the eye without a problem, even when the head was turned at an extreme angle. So at this point, I don’t know what to say about Eye AF. Is it available? Yes, but from experience, I do have my reservations about it.

Samyang 35mm f/2.8 AF Eye Autofocus

Something that I do want to bring up with the autofocus of this lens is the noise that it makes because that can be audible in specific situations. The first time that I mounted this lens, I had my A7RIII in AF-S, so the camera only attempts to acquire focus on a single subject per AF activation. When I did this, I noticed a noise coming from the lens. Turning the camera around and looking at the lens when activating autofocus shows that this lens opens the aperture wide open when autofocusing and closes back it down when focus is acquire. This opening and closing of the aperture is where the noise that I noticed was coming from. This is only something that you notice when you have the aperture at anything other than wide open because if you’re at f/2.8, the lens won’t have to open the aperture because it’s as open as possible with this lens. 

Another situation where I’ve noticed the AF noise is when the camera is using AF-C or continuous autofocus in video. If you’re using these setting, you can hear the autofocus motor in the lens continuously moving. I personally don’t think that this is a problem because I can’t hear the noise when the camera is more than a foot away, even in a really quiet room. You really have to be right on the lens to hear it but if for some reason you have a mic directly on the lens, the mic may pick up the noises up.


Image Quality

4K Video Sample with the Samyang 35mm f/2.8 AF

Finally, let’s look at some image samples taken from this lens. Again, I’m not much of a pixel peeper but I will say that I did notice the sharpness of this lens. For something so cheap, I’m quite surprised at how well this lens performs in terms of sharpness. I can easily make out the details on the artist and fine details like the individual lines of a tattoo.

The bokeh from this lens is also quite nice. For a 35mm f/2.8 lens, you can get some pretty decent background blur, but this is not in comparison to any other lens. We are only looking at this lens independently and I personally believe that the bokeh is quite nice considering the specs of this lens.


Conclusion

At the end of the day, this a cheap lens that regularly sells for $250. With that in mind, I think that this lens provides such great value and performs above and beyond everything that I expected. Not only does it provide me with the small and compact lens that I wanted, but it does it with surprisingly good results.

If you’re interested in this lens, then I’m sure that you know about it’s Sony counterpart, the Sony Sonnar T* FE 35mm f/2.8 ZA Lens. This is the original E mount compact lens from which we can probably assume Samyang got its inspiration from. I’ve seen some reviews comparing the Samyang vs. Sony lens and although most comparisons will say that the Sony has a slight optical and build advantage, you have to ask yourself if it is worth paying more than 3 times the price? For me, it is not. I originally wanted the Samyang as a backup to my Sony 24-70mm GM. I don’t expect to be using this type of lens that often, so there is really no point in investing in the Sony 35mm. I’m perfectly happy with what the Samyang provides me, especially for the price.

If you’re interested in a small, lightweight and compact lens that autofocuses for the Sony E mount system, then I can’t recommend the Samyang 35mm f/2.8 AF enough. Pick one up and try it out for yourself. I think that you’ll be surprised at what this little lens can do.


Affiliate Links

Samyang 35mm f/2.8 AF FE Lens for Sony E https://amzn.to/2t5IBen

Rokinon 35mm f/2.8 AF https://amzn.to/2DcjOd6

Sony Sonnar T* FE 35mm f/2.8 ZA https://amzn.to/2SukjZL


Want to support my work?
Consider visiting the shop and buying "Absolutely Nothing"
https://www.HaiHoangTran.com/shop/absolutely-nothing

or

Become a Patron!
https://www.patreon.com/HaiHoangTran

Kentmere 400


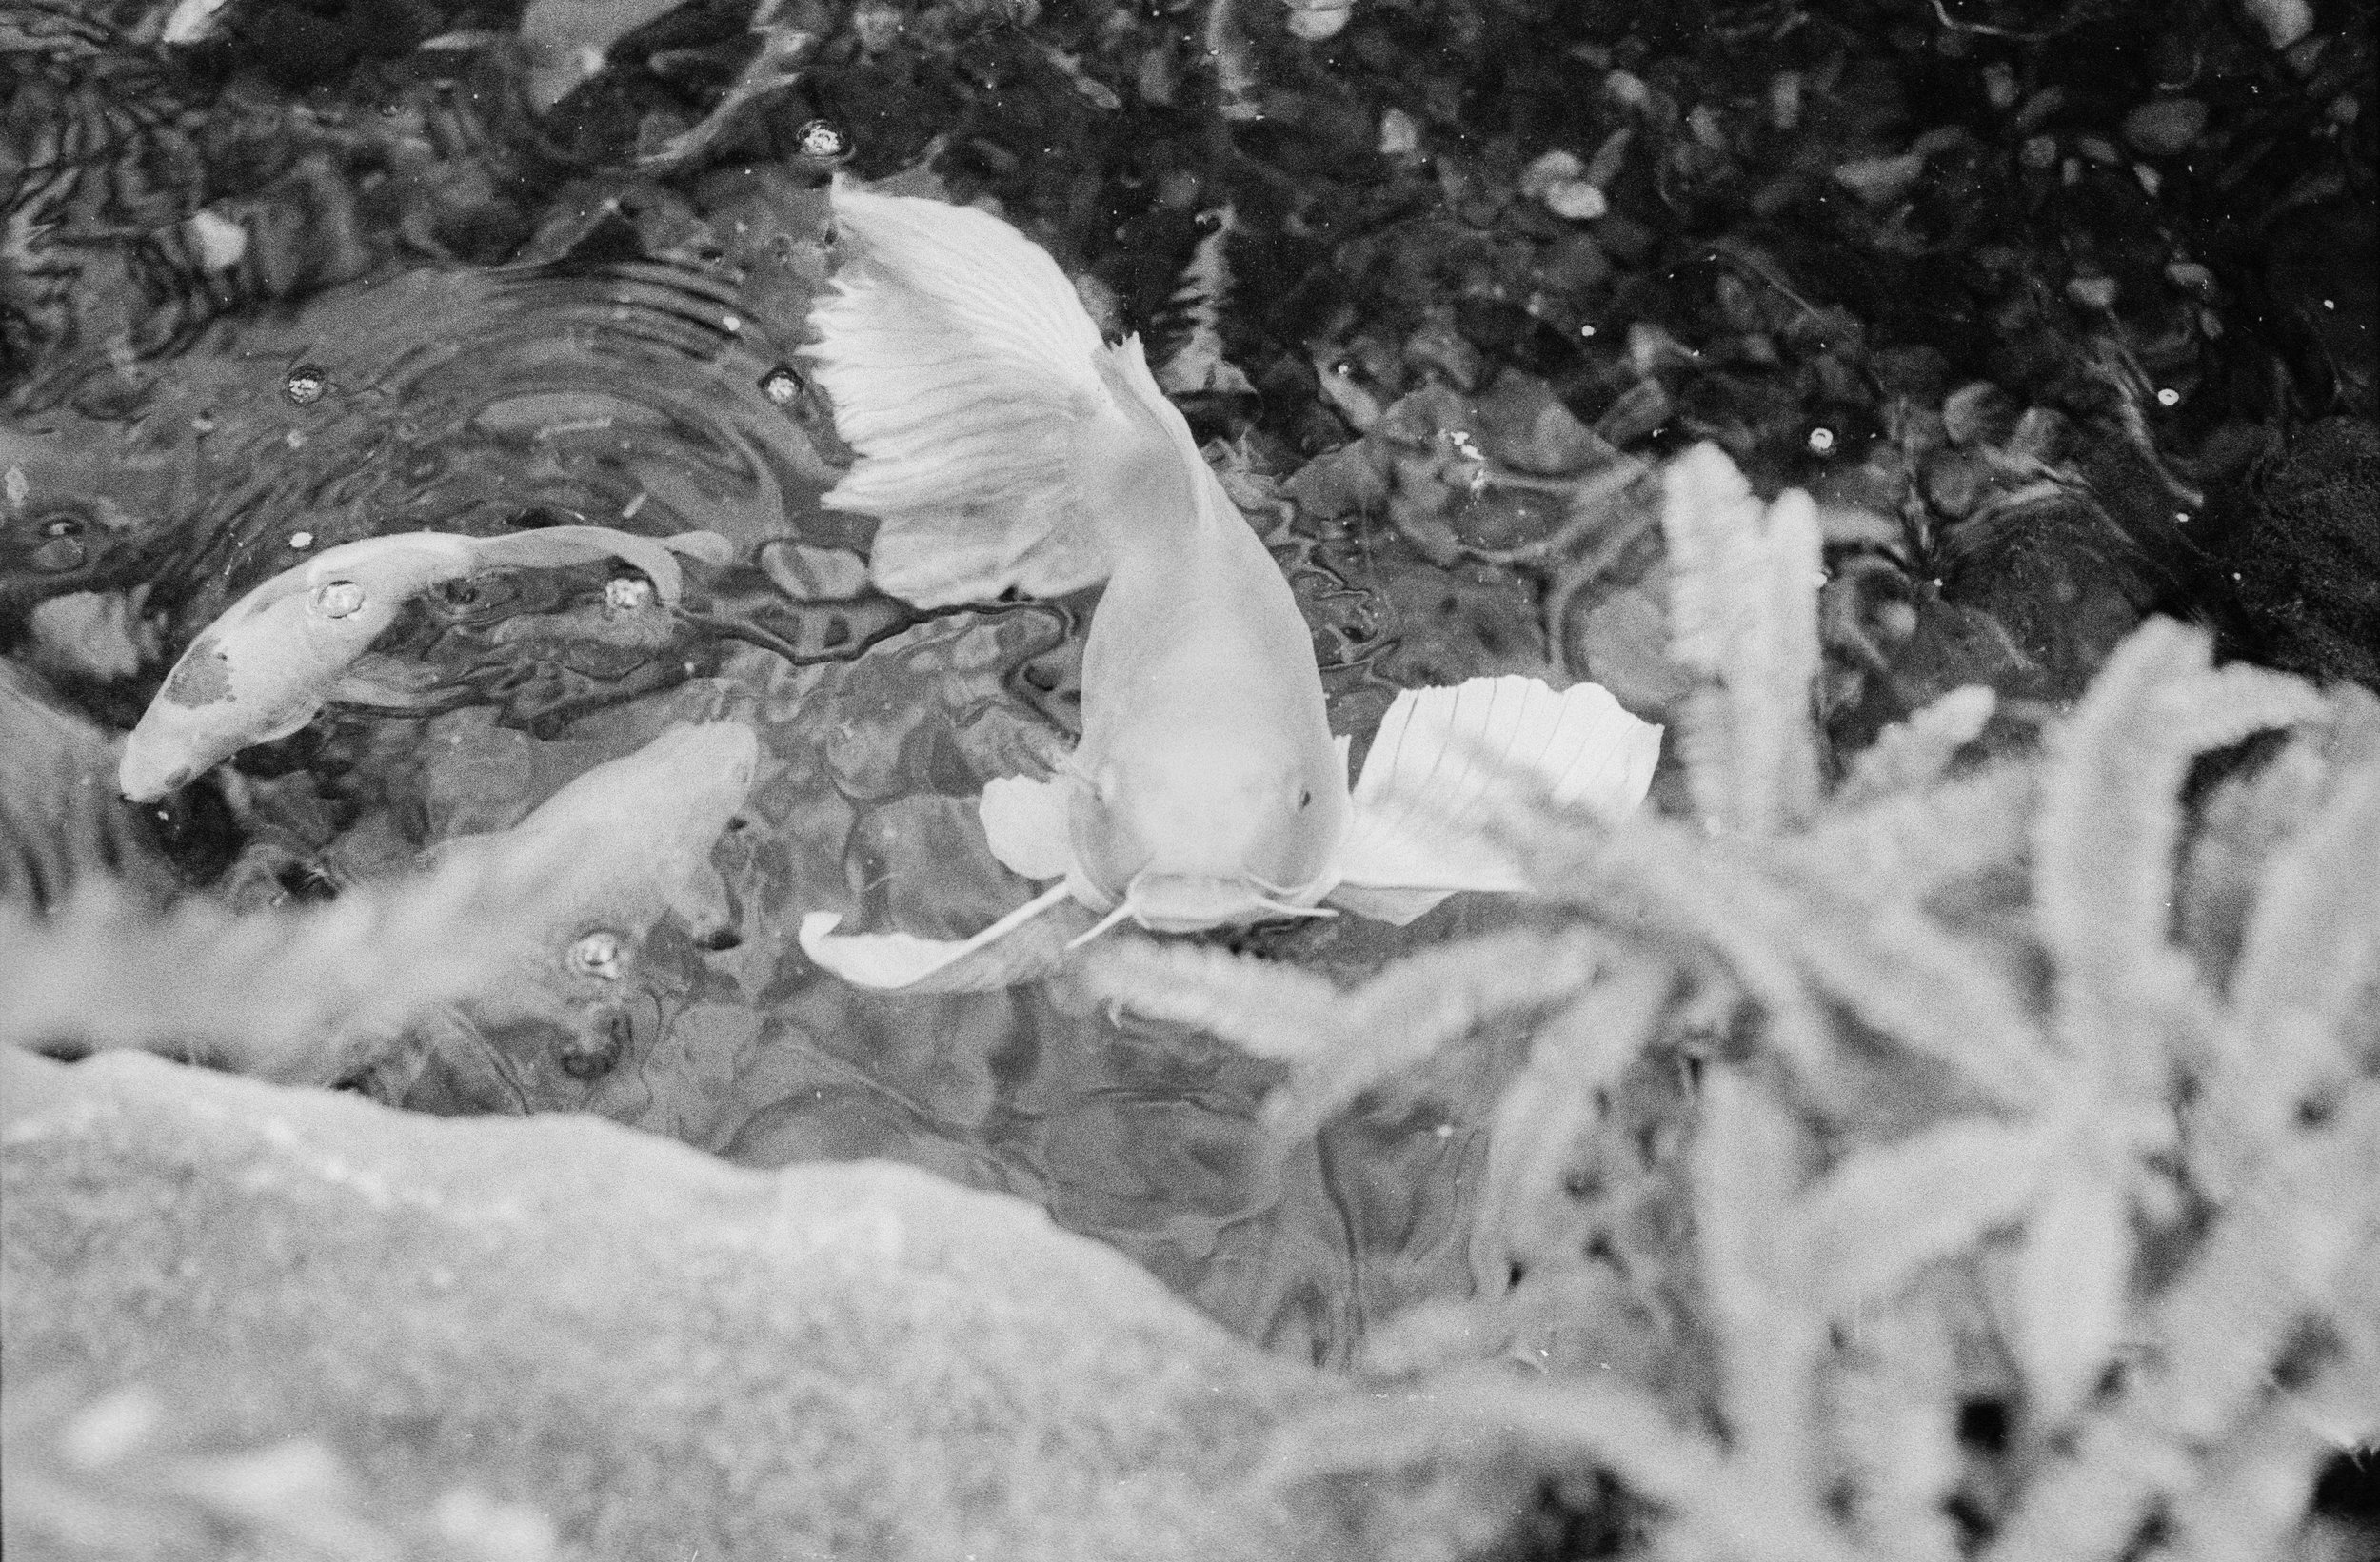
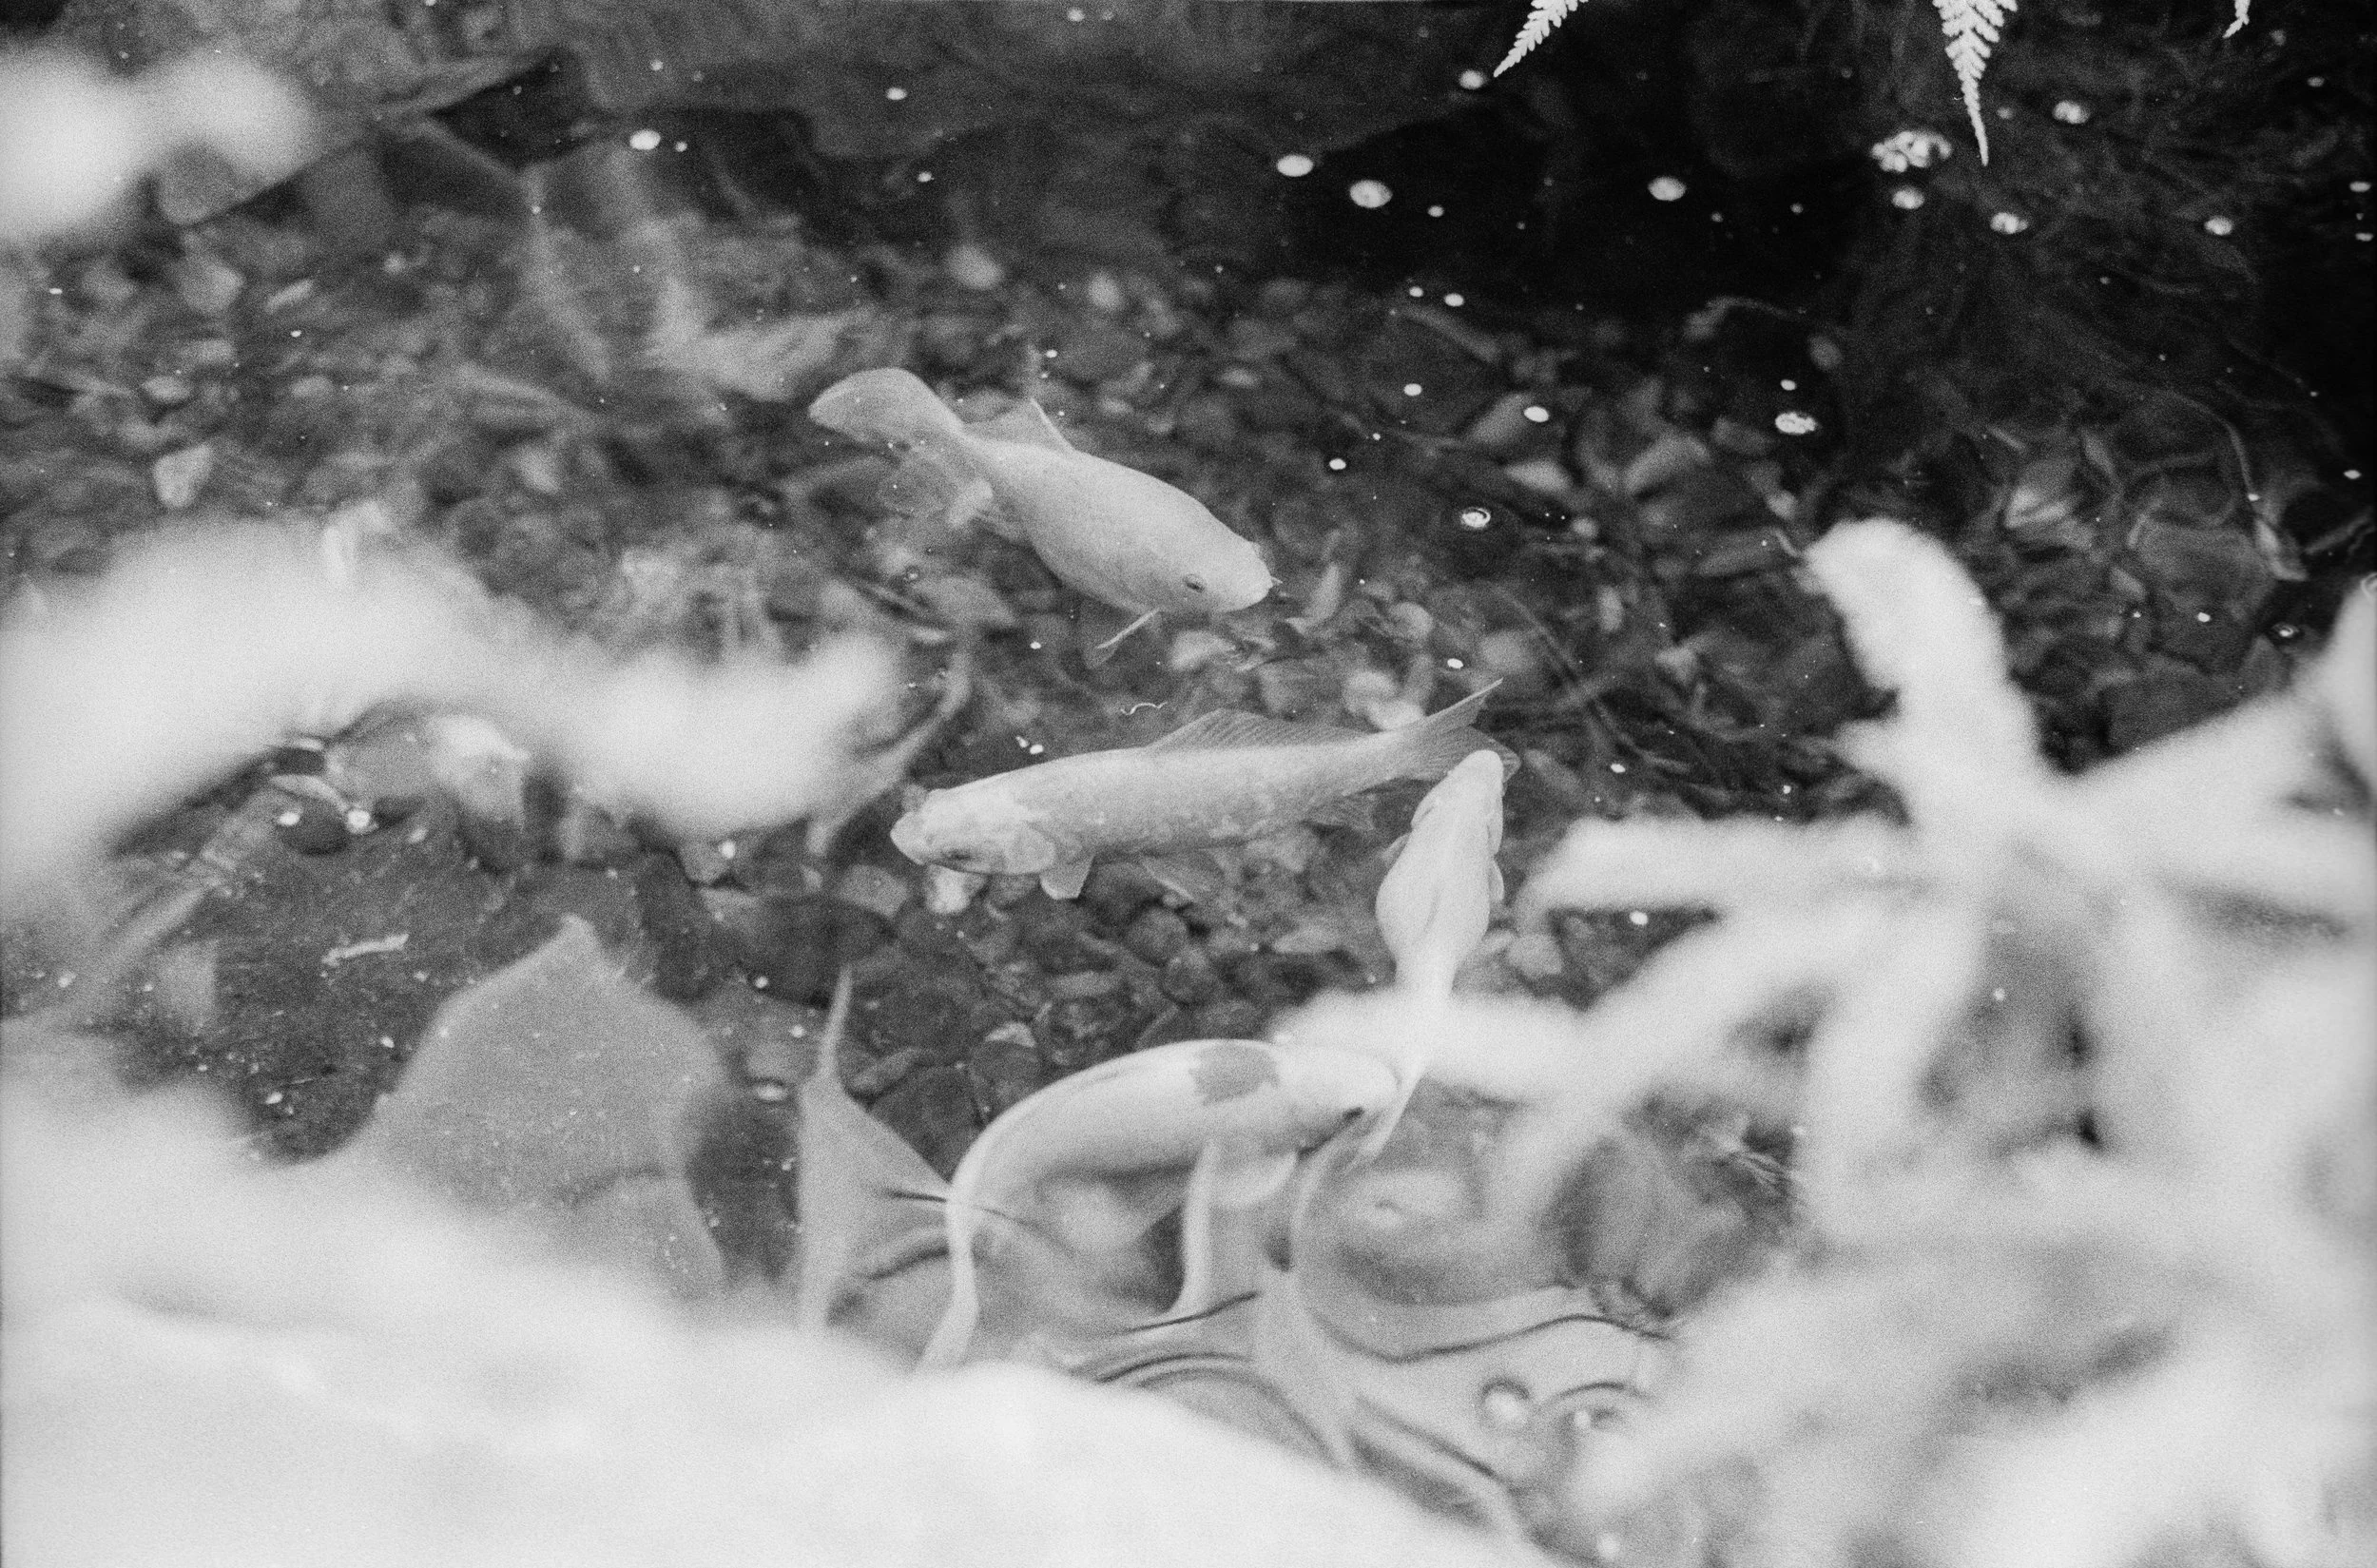
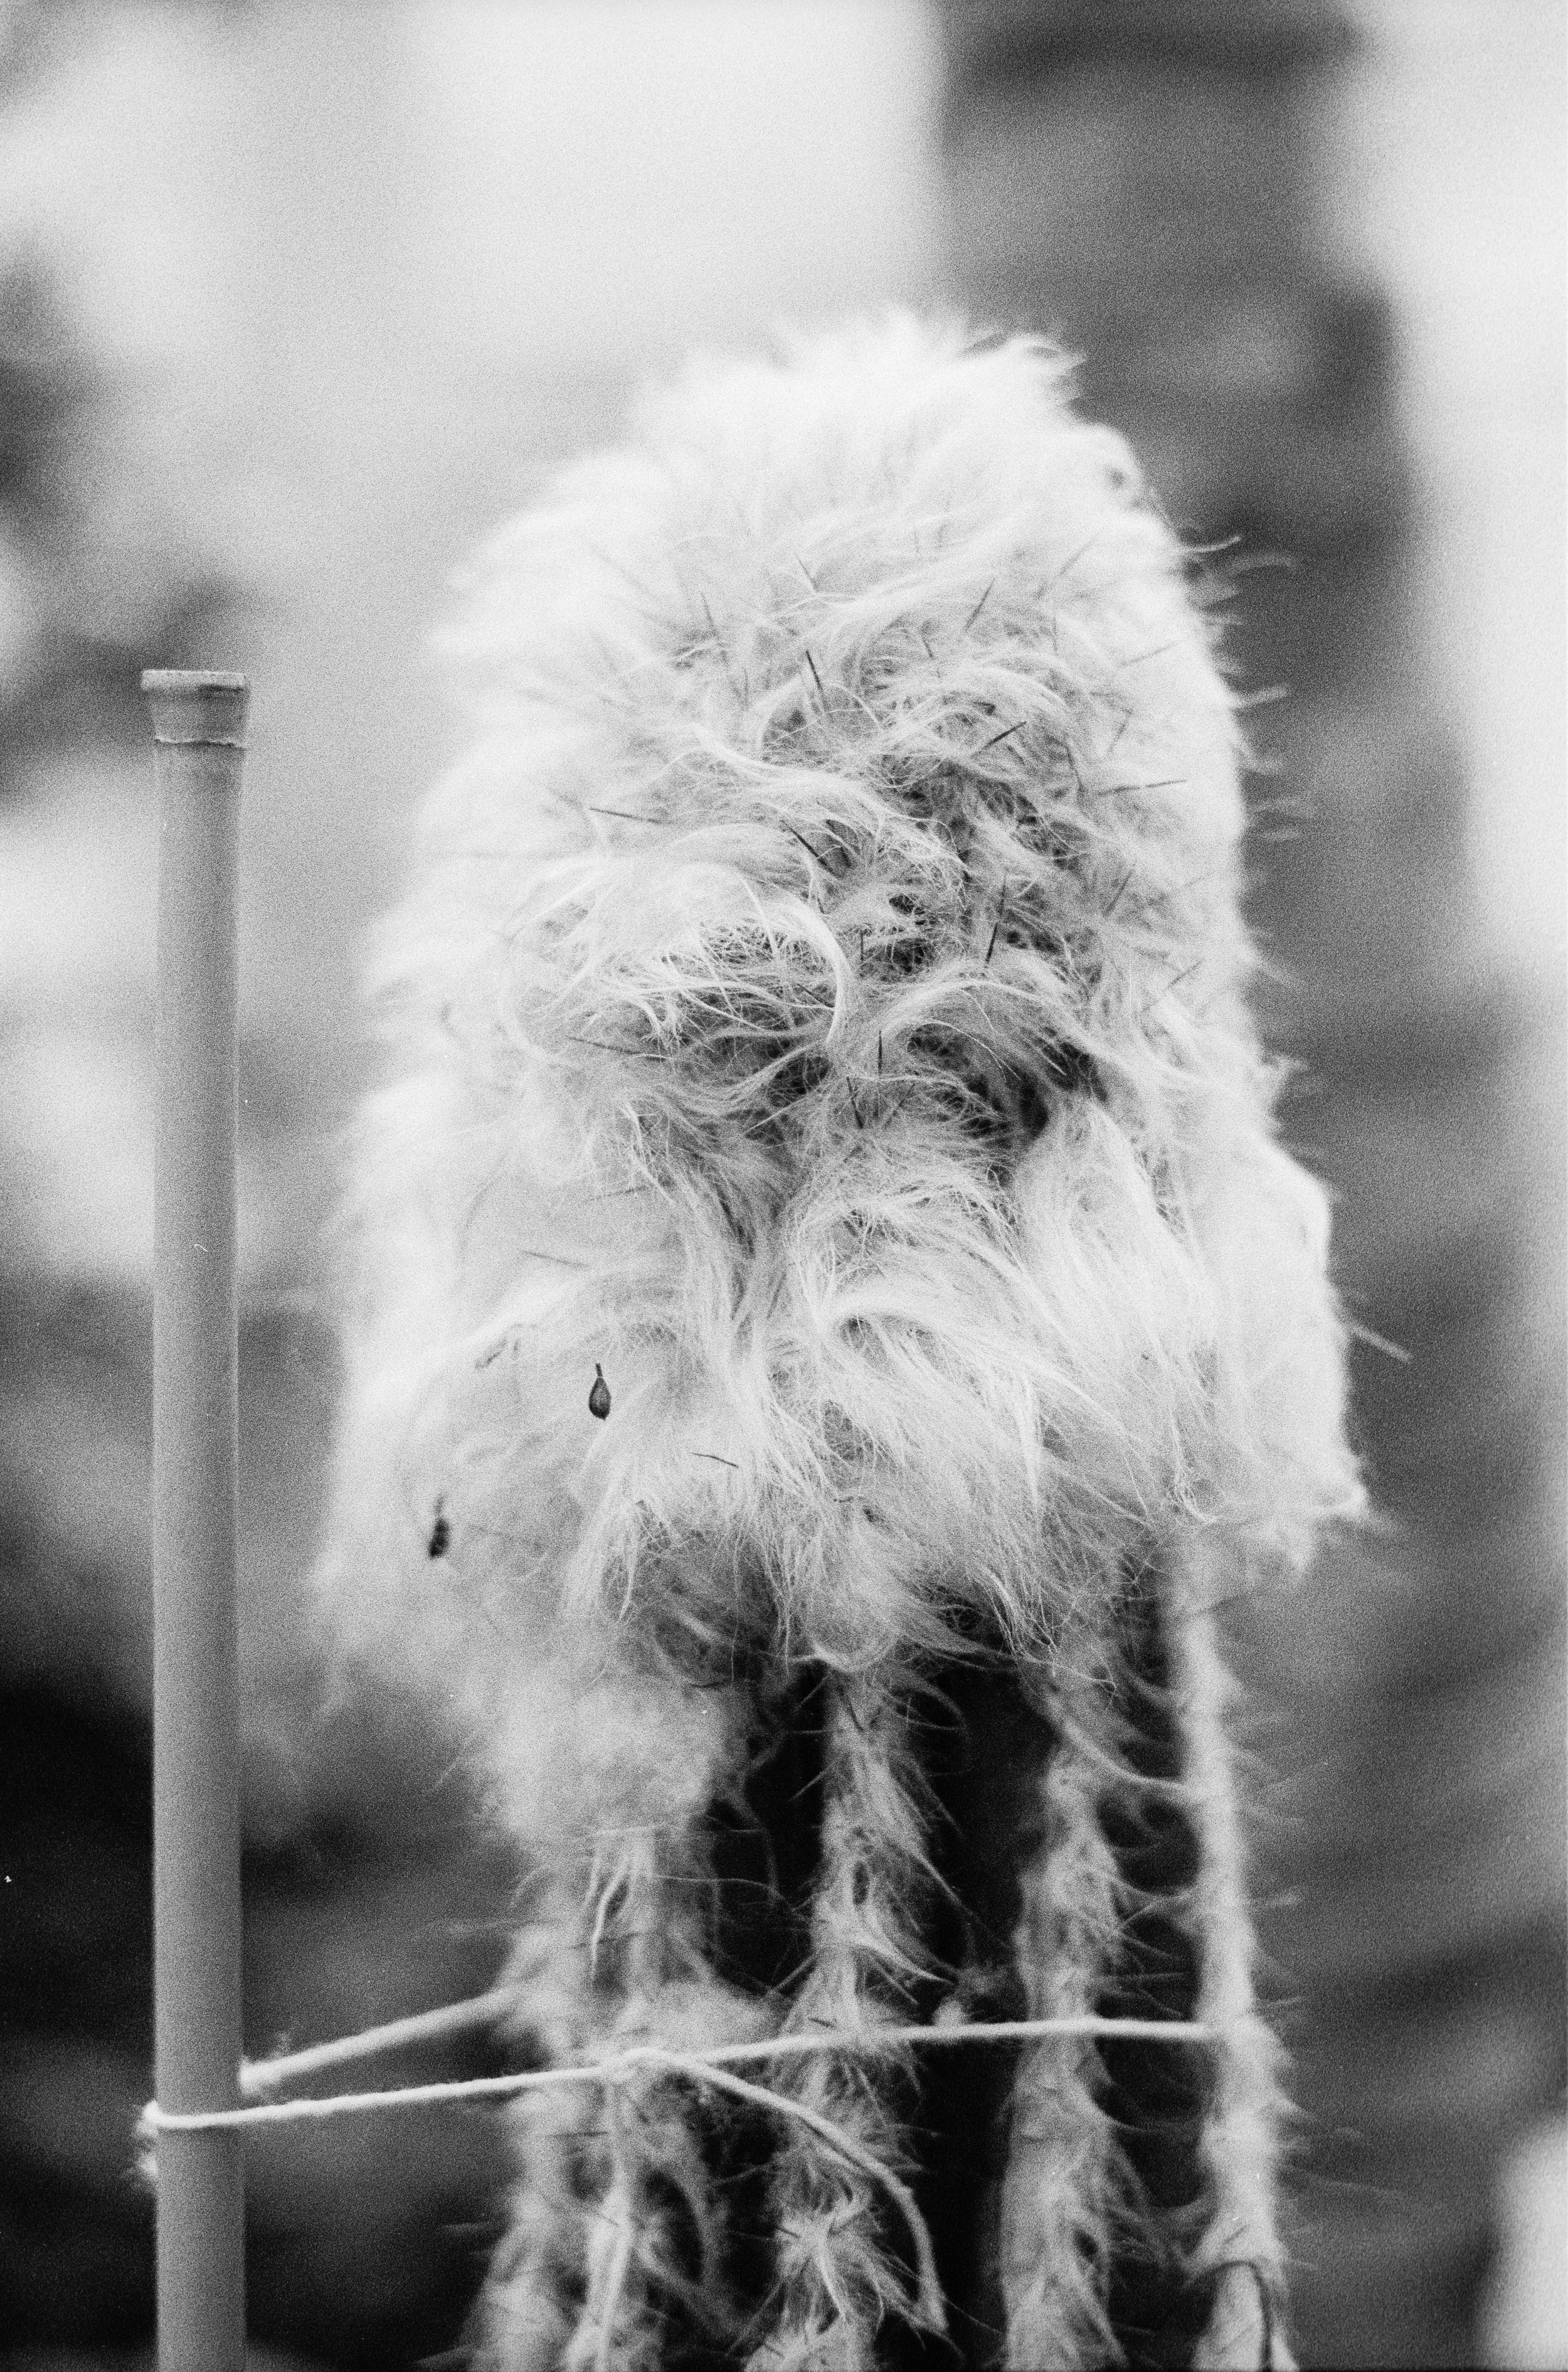
This blog post is meant to act as a supplement to the video linked above where I examined Kentmere 400. The main purpose of this post is to include more easily viewable sample images from the video. For my thoughts on the film stock itself, watch the video for an analysis.


Film Stock Used

Kentmere 400 https://amzn.to/2ThTxAV

Camera Setup Used

Nikon N2020 https://amzn.to/2PC53oX

Nikon 50mm f/1.8D https://amzn.to/2CMEPxk

Chemicals Used to Develop

Ilford DD-X Developer https://amzn.to/2PxtUdG

Ilford Ilfostop https://amzn.to/2yFBhIO

Ilford Rapid Fixer https://amzn.to/2CP7QIw


Want to support my work?
Consider visiting the shop and buying "Absolutely Nothing"
https://www.HaiHoangTran.com/shop/absolutely-nothing

or

Become a Patron!
https://www.patreon.com/HaiHoangTran

The Best Travel Tripod | Sirui A1205 / A-1205


I’ve tried a few different tripods over the years and there are very few that I’m actually happy enough with to keep. When it comes to tripods, I want to know that it’s going to fit into my workflow. I also have to have complete confidence in a tripod because if I can’t trust it to hold my gear that cost thousands of dollars, then what good is it? This is why I really do not do tripod reviews. If it’s not worth keeping, then it’s usually not worth reviewing.

I’ve been using the same tripod for many years. I’ve found a setup that fits the bill and this setup consists of the Manfrotto MT190CXPRO4 legs and the Manfrotto MH055 ball head (discontinued, check out the MH057M0-Q5). This is my photography setup. I’ve had this since the beginning of my career and I really do not see it stopping anytime soon. For doing photography, this is the perfect setup for me. 

But recently, I’ve been doing a lot of videos where I need to record myself doing photography with this tripod setup, so I need a tripod for a second camera. A second camera that’s typically smaller and requires a more portable setup than what my photography tripod setup can give me. In short, I needed a travel tripod. I’ve been on the hunt for this second tripod for awhile but I think the hunt is finally over with the Sirui A1205.

When I was looking for a new travel tripod, I was looking for one that folds up small, is lightweight and holds a decent payload. You may think that these requirements are fairly simple but I actually found it difficult to find a tripod that had all of these things. It’s easy to find a really small tripod, but it’ll probably not hold enough weight for it to be functional/useful. Then you have other tripods that are marketed as travel tripods and can hold a decent payload but when considering it’s dimensions, it’s not really a small tripod at all. In contrast, the Sirui A1205 provides the best of all worlds. 

In terms of specs, this tripod seems too good to be true. Thanks to its 5 section inverted leg design, the Sirui A1205 can fold down to 14.6” but can expand to a maximum working height of 55.1”. Its carbon fiber construction allows it to have a maximum load capacity of 22 lbs while only weighing 2.2 lbs. Getting all of this in a package that only weighs 2.2 lbs is insane! My Manfrotto MH055 ball head alone weighs 2.2 lbs!

Another notable thing about this tripod is that you can actually remove one of the legs and when combined with the center column, you actually get a functioning monopod.

Now this setup comes as a combo meaning that the  head and legs are sold together, in combination. From my experience, the problem with most combos is that they are never really perfect. The legs may be nice, but the head may not be or vice versa. With something like my Manfrotto setup, you buy the legs and head separately and are able to build something that works for you. With a combo, you kind of get what you get. You may be thinking that you can just get the combo and part it out later. Maybe change the legs or the head with something better, but this is a bit difficult with something like a travel tripod because of the way that it folds up. These tripods are generally designed in a certain way for everything to fold down to a compact package. If you were to throw another head on the legs, they may not be able to fold up correctly and end up taking up more space, so what’s the point? So with a compact travel tripod, you really just have to live with whatever drawbacks it has.

With that, let’s get into some of the drawbacks that I feel this tripod has. 

First, this is completely personal, but for me the biggest drawback of this tripod is the twist lock legs. I personally prefer flip locks because with flip locks, you have a confirmation of the locks being locked. You can look at the locks and know right away if it’s locked or unlocked. There’s no in-between unless there’s something wrong with your tripod. With twist lock, there is an in-between and even after years of using them, I still find myself occasionally not locking them down fully and they move during travel or even worst, in use and I see my tripod start to lean/fall and that’s just the scariest thing. That being said, I have not had a problem with this tripod and its twist locks yet. Spend the time to make sure that everything is locked properly and it’ll hold your gear just fine.

The second and only other drawback that I can think of with this tripod is the maximum payload. Although Sirui advertises it as 22 lbs, there’s no way that this tripod can hold 22 lbs. The legs may be able to but not the head. I’ve used this tripod with about 10 lbs of gear and there is definitely some movement in the head. I often take multiple exposures of a scene, wether it’s for bracketing or focus stacking and in between my images, I can see that the composition is not the same in the pictures. I kind of knew that this would be a problem with this tripod even before buying it because tripod manufacturers really like to over estimate their max payloads. When a manufacturer says something like a 22 lbs max payload, you should really be expecting about half of that unless you’re really spending money on your tripod setup. Even though this is a well built tripod, at the end of the day it retails for about $240. You’re not making the biggest investment in the grand scheme of things. This is a rather cheap tripod in comparison to some of the other travel tripods that have similar specs. With that in mind, it’s really hard to fault this tripod considering everything else that you’re getting, an extremely small when folded tripod that is also lightweight and hold a decent amount of weight. I’m really, really enjoying this tripod and if you are looking for something similar, I’d highly recommend you check this Sirui A1205 out for yourself.


Want to support my work?
Consider visiting the shop and buying "Absolutely Nothing"
https://www.TheUpperLeftUSA.com/shop/absolutely-nothing

or

Become a Patron!
https://www.patreon.com/HaiHoangTran

Best Acessory for Filter Users | Manfrotto Xume Quick Release Adapters


Lens filters are pretty straight forward. The majority of them get screwed onto the front filter thread of a lens. This approach to mounting a filter works, but is not the most efficient. To me, this is one of those things that has been so widely implemented that no manufacturer dares to diverge from the norm, even if there is a better solution. That better solution may just be the Manfrotto Xume Quick Release Adapters.

The Xume adapters consist of two different pieces, the lens adapter (attaches to your lens’ front filter thread) and the filter holder (attaches to the back of the filter). These two parts create a magnetic connection between each other and when installed to your lens and filter, it allows you to magnetically install your filters with little effort. The magnetic connection has just the right amount of strength to hold a filter in place without it falling off and still allows you to easily take the filter off when need be.

But just how strong is the connection? What if you don’t use just one filter, but an entire filter system? In the video above, I showed the use of the Xume adapters with my Wine Country Camera filter holder. This is a high quality filter holder and with that quality comes weight as the holder is made entirely from metal and wood. The Xume adapters can efficiently hold my filter system, a circular polarizer and 3 additional solid ND filters. I can still also rotate the adapters and my filter holder around for times when I’m using an ND grad and of course take it on and off with ease. Needless to say, these adapters can hold anything that I would possibly need.

Although the Xume adapters are great, I do have one complaint. The Xume system simply does not allow you to use conventional lens caps. The Xume lens adapter is very thin and there is just not enough space for a lens cap to catch on and stay in place. There are specific Xume lens caps that you can buy that works with the lens adapter but from my research, it seems like these caps are only available in certain sizes. For example, my most used lens has a 82mm front filter thread so I bought the 82mm Xume adapter rings. When I tried to find and buy the 82mm Xume lens cap, it was like it’s nonexistent. I couldn’t find it anywhere, even from the manufacturer. 

To solve this problem, what I’ve done is bought a screw on lens caps (which would typically screw on to the front filter thread of a lens) and combined this with another Xume filter holder ring. This essentially turns the screw on lens can into a magnetic lens cap. Now, this work around functions just fine but it does cost some money. You have to buy the screw on lens cap and another lens adapter ring and that may cost more than the Xume branded lens cap if they were to make it.

But overall, the Xume is something that I do enjoy and would definitely recommend if you use filters a lot. It’ll save you a lot of time.


Manfrotto Xume https://amzn.to/2RCqgTT

Manfrotto Xume Lens Cap https://amzn.to/2C7M28f

Screw on Lens Cap https://amzn.to/2SLoDAS

Wine Country Camera Filter System https://amzn.to/2ReZe5M


Want to support my work?
Consider visiting the shop and buying "Absolutely Nothing"
https://www.TheUpperLeftUSA.com/shop/absolutely-nothing

or

Become a Patron!
https://www.patreon.com/HaiHoangTran

Wallace Falls State Park Trail, WA


I recently had to opportunity to hike the Wallace Falls trail for the first time and I have to say that I enjoyed it quite a bit. This is one of those trails that offers a lot in a short amount of distance because it just seemed like there were views around every couple of corners.

IMG_8317.jpeg

For those who are interested in doing the hike, going early is a definite recommendation. I arrived at the trailhead at 8 am and there were about 20 cars in the parking lot. As I hiked, I saw many people on the trail and by the time that I was finished, a good portion of the parking lot was filled. I did this hike on New Year's Eve, which is something that not as many people are going to do. I can only imagine that on a nice summer day, parking is going to be taken up fast. There is no roadside parking on the way to the trailhead so you'll have to find parking elsewhere in the surrounding residential area. Parking in the lot also costs $10 a day or $30 a year for the Discover Pass, which will allow you to park at various other state parks. Those who do not pay for parking may be fined at this location as there is a volunteer actively on site.
For those who are also new to this trail, there are multiple sites and waterfalls that you can hike to. On this day, I only hiked to lower falls so take that into consideration as you read this blog. That being said, the hike to lower falls is relatively easy. A more experienced hiker or someone with good cardiovascular endurance should have little problem. I would like to note that there was a little girl less than 5 years old that I saw throughout the trail walking on her own. That kind of tells you about the difficulty of this hike. To me, it seemed like there was not a lot of elevation gain. More so smaller patches of incline climbs rather than a constant climb. 

You start off at the trailhead and walk down a gravel road that’s directly under those electrical towers that you often see randomly running through the mountains. This was actually my first time being this close to those towers and to my surprise, you can actually hear the electricity running through them, which is kind of crazy! After this, you enter the rain forrest and stay there for the remainder of the hike.

IMG_8269.jpeg

One nice thing about this hike is that you walk along a moving body of water for a good portion of the hike or relatively close. You can hear moving water for the entirety of the hike and that just adds to the mood of the trip.

Conditions on this particular day were great. It had been raining consistently for the past couple of weeks and this was an unusually good weather day. I was layered up pretty well and stayed warm throughout the hike but my hiking partner did complain about being cold and losing sensation when not in motion. Keep that in mind as you plan your trip! Another thing that would be helpful is to bring a waterproof layer because there were a lot of water droplets falling from the trees even on a nice sunny day. If you're going on a wet day, bring waterproof gear for sure.

IMG_8290.jpeg

I can’t gaurantee that this is the norm for this trail but I experienced some amazing light throughout this hike. As the sun rose, it lit the tree canopy on fire and often put on a display of light beams through the trees. This got me pretty excited and I tried my best to capture an image as it was happening.

IMG_8285.jpeg

Overall, this is definitely a recommended hike. There is a lot of reward for the amount of effort put in, even if you don't do the entire hike. 


Want to support my work?
Consider visiting the shop and buying "Absolutely Nothing"
https://www.TheUpperLeftUSA.com/shop/absolutely-nothing

or

Become a Patron!
https://www.patreon.com/HaiHoangTran